Showing posts with label coloring. Show all posts

Monday, February 9, 2015

Hugs and Hisses!-- Snake Pencil Valentines


I admit, I did look for boxed valentines at Target this year. But either I was very late getting to rummage through their valentine stock (It was already February 2nd, gasp!) or it just wasn't very impressive this year (due to the many dumpings of snow maybe?). At any rate, I had two options for the boys' school valentines. I actually think my nature-crazed eldest would have loved the googly-eyed animal ones, but that left superheroes for Fumble, and sadly my boys were in and over them in about two minutes. I can't remember the last time we DIDN'T do box valentines, (maybe back in 2012?), but these options were disappointing. Target could do better than this! We could do better than this! And then I thought, wait, why can't we make our own valentines? Ones we will actually LOVE to hand out!? Also, the idea of not traipsing in and out of drug store after drug store with a crabby toddler in the throes of TWO in favor of creativity was very appealing. I admit it.

My 7 year-old, Spiff, ranks snakes at the height (and beyond) of coolness right now. He talks about them all day long. And he has immense stamina when it comes to coloring and crafting, especially when it's something he's excited about. So I thought, let's do snake valentines. And of course you can't just give paper valentines any more. They have to come WITH something. So what would look like something a snake would hang off of. Tree. Branch. Stick. PENCIL.

Pinterest had this awesome pipecleaner pencil-slitherer to offer. Pretty awesome. Even though I didn't have enough pipecleaners, this one had me so pysched I was ready to go buy some. But wait. These would mean a lot of work for ME. And these aren't MY valentines. I'm a firm believer that kids should do more of their own gifting. I wanted Spiff to make his own mark. And so this cardstock creeper was born. I printed up a template and he colored them in. All 22 of them. He was so excited about it, I couldn't come down to make a pot of coffee in the morning without having to get some art supply out first.  So since he was so excited to do them, I'm so excited to share this craft. And if you have a snake-happy crafter like I do, I hope you enjoy making them as much as we did!

What You Need:
  • the printable printed up on card stock
  • hole punch
  • scissors
  • crayons, markers, etc.
  • brand-new pencils for gifting
What You Do:
  1. Color printed snakes. 
  2. Cut out snakes. 
  3. Hole punch gray circles.
  4. On back, write your message. We chose "Hugs and Hisses" since it's Valentine's Day and we like a good pun. ;-)
  5. Slide snake onto pencil tip first through the front, colored, side of the tail. gently bunch and slide snake up the snake towards the eraser until the snake looks like it's slithering up the pencil. 
  6. Gently fold, head down to lie flat-ish along pencil. 
  7. Gift!


 The Printable:


 Other awesome Snakey Sayings we came up with:
  • "Your Sssssuper!"
  • "Just Slithering by to say "Happy Valentine's Day!"
  • "Give me a squeeze, Valentine!"
  • "You'll make Hisssstory, Valentine!"


Wednesday, October 1, 2014

Peek-a-boo Card: Haunted House

It's OCTOBER! That means we really get to dive into Halloween! One of my favorite holidays for sure! Candy, costumes, COLOR! All good things start with C. Cookie Monster and I are of the same mind.

And CARDS! We love making and mailing cards. They are a great, fun craft and a fantastic way to show your love. Who doesn't like getting a card in the mail? Nobody, that's who.

This is a neat lift-the-flap card that my octopi and I designed together especially for our favorite people last Halloween. (And I had to wait a WHOLE year to post it, do you know how hard that was for me!? Do you!?)

It was a fun project the kids really got into and allowed them to put as much craziness into it as they wanted while making a really cool finished product they felt pretty proud of. (So did I, I admit it.) The materials are basic, the result awesome. Just how we like our projects around here.


What You Need:

  • Card stock. We cut ours to fit a business envelope when it was folded, so 8.5"x8" or you can use the pre-drawn printable at the bottom if your octopi just want to color.
  • Gluestick
  • Exact-o knife or craft knife
  • crayons, markers, etc.

What You Do:
  1. Take your cardstock and fold in half so it's 8.5"x 4".
  2. On the front of the card, draw your haunted house with nice good-sized windows that will be easy to cut, big enough to draw a cute picture inside but small enough to fit a few peek-a-boo windows. We found 6-8 1"-1.5" windows to be a good size but it doesn't really matter so long as there's enough room around the windows to glue and seal up the card.
  3. Unfold your card and putting your card window-up on a cutting surface, cut out the windows on 3 sides (top, bottom, right) so to make flaps that open and shut.
  4. Open up all the flaps and refold the card so you see the underside. Trace out the window openings. 
  5. Open up the card and have your octopus color monsters in each of the traced out boxes. It helped my younger octopus if I colored around the windows so he knew what NOT to color. Those areas won't be seen once you seal up the card.
  6. On the inside, glue all around the windows and along all the edges of the card.
  7. Fold the front over the glued inside and seal it up.
  8. Now have your octopus color the outside of the haunted house.
  9. Peek-a-boo!


The printable:

Monday, October 1, 2012

Leaf Rubbings

The other day my kindergartener wanted to collect leaves and send them to relatives. Since I am pretty sure everyone in our family has plenty of their own leaves falling in copious amounts on their lawns at the moment, I suggested we do something more artistic with the leaves we found. We settled on the easy to do and totally satisfying leaf rubbing. It takes no time at all and not much in the way of materials and they're ones I'm sure you have.


What You Need:
broken, unwrapped lengths of crayon (we love a craft that uses these- I hate to toss them, but who needs broken crayons!?)
white paper
flat fall leaves (We made ourselves a little adventure just collecting these.)
masking tape, optional.

What You do:
  1. On one piece of white paper lay out your leaves in whatever pattern you chose.
  2. Lay the paper you're going to color on flat on top of your leaves Secure it in the corners with tape. This helps to keep it from moving when your octopus is rubbing.
  3. Take a broken bit of crayon and rub it along the paper, over the leaves, on its side (not the ends!)
  4. Watch your leaves come out!
My kid really loved doing this a lot more than I expected. It was kind of like digging for treasure (or fossils!). He never knew which leaf was going to pop up and the more colors he used the better it came out.

A neat thing to do with an older kid would be to collect one of several varieties and label the rubbings with the tree species.

Wednesday, September 5, 2012

Dying Rainbow Macaroni for Crafts

 I just felt the need to dye colorful macaroni and make necklaces with my octopi the other day. It turns out it's not at all hard to do. In fact it's easy and fun and the end result is brilliant!

We used rubbing alcohol to dye ours but I have read you can use vinegar as well which would be more friendly to kids who tend to put things in their mouths, but from our experience the alcohol worked really well to get vibrant colors. I haven't tried vinegar so I can't say if one's better than the other.

Pasta is a really cheap product. We bought a couple different varieties for a dollar a box- penne, ziti and ziti rigotti. Anything with a hole will work but the straighter pastas like the ziti rigotti and penne worked best for my 3 and 5 year olds for stringing so consider avoiding elbow macaroni when working with preschoolers.

This is a quick and easy project that little hands can lend a hand with. The dying alone is a family project. I like a craft where the process is just as fun as the product. Otherwise, what's the point?

And the projects you can DO with the end results are endless. Necklaces and mosaics. Christmas tree strings. They can be used for sorting shapes and colors and sizes. Counting, adding, subtracting. Practicing fine motor skills of stringing.

So.

Here's What You Need:
  • pasta with holes, straight tube-like pasta is best (although the slightly curved ziti did dye the best!)
  • food coloring in red, yellow, blue (and green cause that's how it comes you know!)
  • rubbing alcohol (we used isopropyl)
  • ziplock bags (we used freezer bags and they still seeped a little at the zippers, so beware and maybe double up!)
  • paper towels
  • 1 cup measuring cup
  • tablespoon


Here's What You Do:
  1. Decide how many different colors you are going to make and get out that many bags.
  2. In each bag, measure 1 tablespoon of rubbing alcohol.  (Or even a 1/2 tbs might be fine.)
  3. Drop 10-15 drops of food coloring in each bag of alcohol to make your colors.
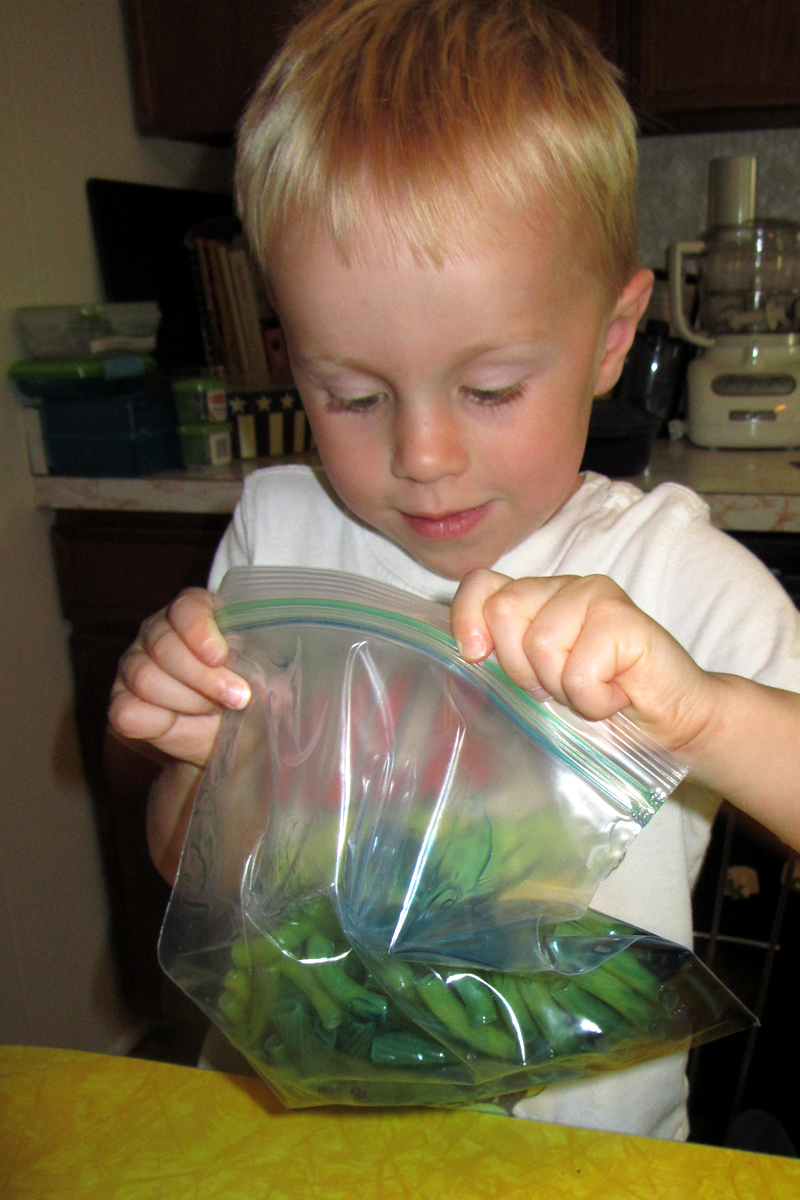
  4. Meanwhile have your octopus fill the one cup measuring cup with the pasta(s) of his choice. Heap it on there. Let him dump it all in one of the bags while you hold it up. (Don't let the dye out, yuck!)


5. Close it up realllll tight and let him squish that pasta all around in the dye.


6. Repeat with all your colors.


7. After they're mixed up really well, lie the bags flat on a paper towel-lined cookie sheet.


 8. Let them sit there for a couple hour, flipping every so often. *We did two and a half hours for the red, orange, yellow and green. But purple and blue just did not come out as well as I wanted (what're you gonna do- pasta is yellow in nature!) so I dyed them a second time in 1/2 tbs rubbing alcohol and more dye and repeated the process for another 2 hours. This time they came out nicely!*

9. When the pasta has reached your desired hues, drain out the excess liquid from the bags.

10. Dump each color of  pasta in one layer, not touching the other pastas, onto paper towel-lined cookie sheets, plates, whatever.

11. Let dry. If it's a sunny day put them out there and they will dry in no time! Our pasta was ready to use in 30 minutes on a hot sunny day.


12. Admire your beautiful pasta. I couldn't help but layer it all in a big jar like a rainbow. It was just so pretty too look at!


Making Necklaces with your Pretty Pasta.


Tie a piece of pasta onto the end of a length of yarn (a couple feet will do it.). Tape the other end for ease of stringing. Let your octopus get to work stringing macaroni. When he's all done, untie the pasta end, leave the pasta there or take it off, and tie the two ends together. Easy peasy.


Thursday, February 9, 2012

Games: Crazy Shapes

While Spiff and I were playing Crazy Eights the other night it occurred to me that it would be great to play it with shapes and colors as a fun way to commit those shapes to memory (and colors for Squidgee). I can't let an idea like that go, so of course I got to work. I made this printable deck of cards which he colored and we've already played about a dozen times. Most times I've lost, but who's counting? Oh yeah, Spiff.


The Printables:


Here's how you play. Pretty much it's Crazy Eights, but here's the longer version:

The Set-Up:
  • Shuffle the cards.
  • Deal out 5 cards to each player, face down.
  • Place the remainder of the cards face down in a pile between the players. This will be the Draw pile.
  • Flip one card over from the Draw pile and set it up face up next to the pile. This will be the Discard pile.

The Play:
  • Youngest player goes first, and play continues to each player clock-wise.
  • On each turn the player plays a card from his hand on top of the Discard pile that matches the top card in either Shape or Color.
  • If a player doesn't have a matching card, then the player draws from the Draw pile without playing a card and play continues to the next person.
  • If a player has a Wild Card, he can play it any turn regardless of what's on top of the Discard pile. He gets to choose which color- Red, Orange, Yellow, Green, Blue or Purple (yeah, I know, I left out Indigo, I wonder when Spiff will notice.)- is to be played by the next player.

The Winner:
  • Whoever plays all of the cards in their hand first is the winner. Hooray!
Did I miss anything? Let me know. It's apt to happen!