Showing posts with label cold wet days. Show all posts

Tuesday, January 20, 2015

Baking Soda Snow

I love playing in the snow with the kids but we haven't had any this year and it's been  too c-c-c-old if there'd been any anyway. Fake snow INDOORS seemed like a good way to have some snow fun despite the lack of real snow.

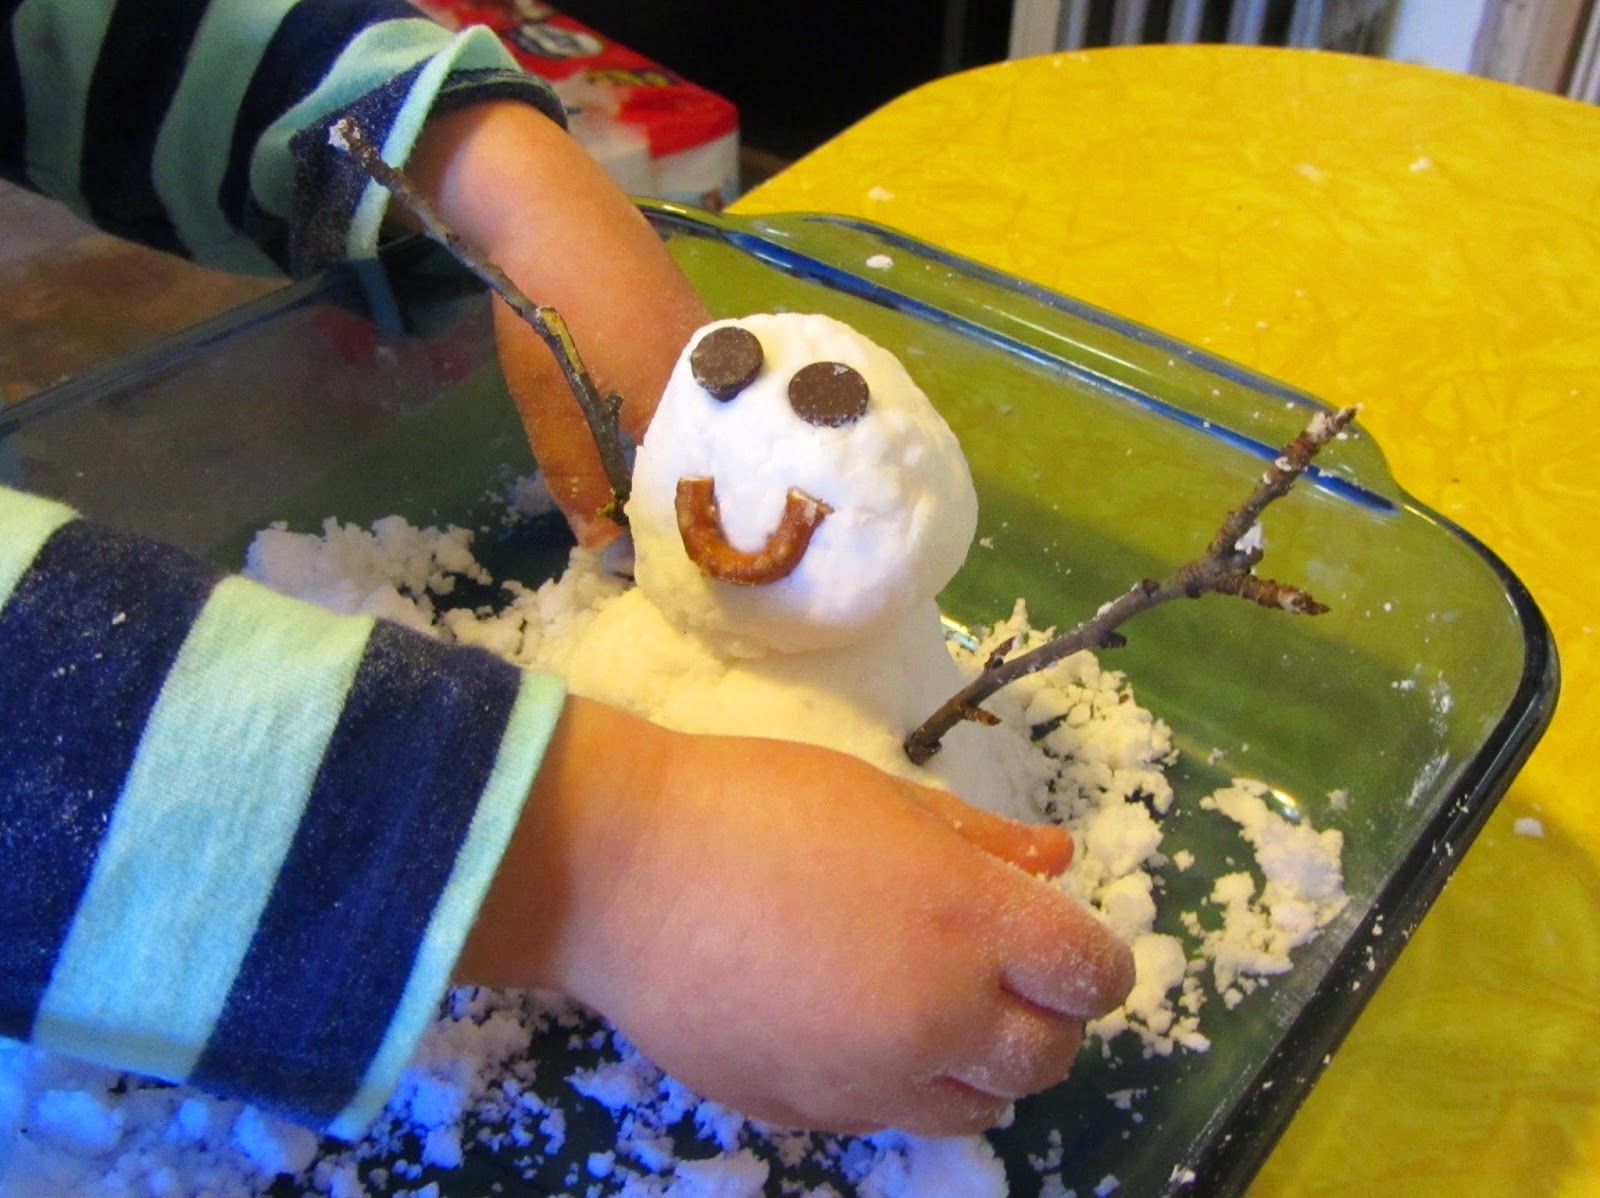
I found this great recipe for baking soda snow on Momma's Fun World.  This stuff is mold-able just like the real stuff and is completely safe. It is made from two ingredients I already had handy- baking soda and conditioner- so that's always a win for me. And it keeps. Stick it in a tupperware container or, like we did, play with it in a baking dish that has a lid and pop the lid on it when you're through. A month later and it was still in great shape. The pictures show just a half-batch of the snow to give you an idea.

 My 2 year old had such a great time making snowmen (Use twigs or pipecleaners for arms, choc. chips and pony beads for buttons and eyes) and playing treasure hunt in the snow with some buttons and "gems" we have hanging around. (Don't put anything in there you wouldn't want the finish to get "polished" off of- it is baking soda after all.) Both my 5 and 7 year old played with it when they got home from school and loved playing with it just as much. A lot of bang for little buck an little effort. I definitely recommend trying it!


What You Need (for a full batch; we only did a half.):
  • 3c. baking soda
  • 1/2 c. white conditioner (We used the Sauve Kids 3-1 because that's what we had on hand and it worked great.)

What You Do:
  • Mix it up using a fork or your hands, adding more conditioner if necessary.
  •  Play!
  •  You can pop it in a resealable container when you're done and use it over and over again, though you might have to add a little more conditioner to refreshen it.




Monday, August 6, 2012

Campfire Craft


 I'm not sure how it happened really. One minute we got the tent out from its hiding place under the couch. (If you don't stow stuff under there you should!) and then we were making a lake out of blue blankets and crafting a campfire out of paper for roasting cotton ball marshmallows. In the end, "camping" became quite the creative production. And it's even better because in a couple weeks I won't feel that badly about throwing it out- provided I can sneak it past the bosses.

The boy scouts are good campfire builders. We are good pretend fire builders. Smokey would be proud. And this is how we did it.


What You Need:

for your fire:
  • red and orange construction paper
  • scissors
  • glue and maybe scotch tape

Here's What You Do:
  1. 1. To make your fire: Cut out flames the long way out of your construction paper, leaving the bottom edge nice and straight and untouched. I drew out an easy zigzag flame shape and handed it over to my 4 year old to cut- good practice! 
  2. Out of leftover scrap, cut more flame shapes and paste them onto the bigger pieces here and there and wherever.
  3. glue the edge of one side onto the edge of the other side so you have a ring of fire.
  4. Cut out little u-shaped mouse holes along the bottom edge for your "firewood" to go through so the fire stands nice and straight on top instead of falling over.


for your kindling and fire wood:
  • brown paper
  • glue and some scotch tape
  • scissors

What You Do:
  1. Cut your brown paper into varying widths by 9" or so. Honestly, it's not a science and I have no idea what length we cut. 
  2. Roll each strip nice into a stick and glue it closed or tape it shut. We did both. It did not want to stay.
  3. Stick your sticks through the mouse holes you cut in your fire to make it look like they're on, well, fire.


for your marshmallows on a stick:
  • brown pipe cleaners
  • cotton balls
  • white electrical tape to keep the balls neat
  • scissors.

What You Do:
  1. Snip your cotton balls from top to bottom but only half-way through so that you can "unroll" them a little. 
  2. Wrap the snipped cotton balls around your pipe cleaner. 
  3. Wrap a length of white electrical tape around the marshmallow to help it keep its marshmallowy form. (We experimented and did some on the top and bottom of the marshmallows too but really it just looked better when we wrapped the sides of the cylinder in one go and it was way easier to do too.) Now you'll be able to pull on and off your untoasted and roasted marhsmallows to eat right up.
  4. Roast those puppies over your fire.


Who knows, maybe you can even con your kids into taking a nap "under the stars" when they're done. I wish I had!


Thursday, January 26, 2012

Sock Snowballs

We love snow and everything you can do in it. Snow forts, snow men, snow angels, sledding, snow ball fights. All of it. But, let's face it, sometimes it's just too cold and wet. It takes 30 minutes to get the kids bundled up and outside and about 30 seconds before Squidgee loses his mittens and cries over his cold, wet hands. The other day we built a snowman and by the time we crammed the carrot nose on nobody wanted to play outside anymore. So we came inside for a snowball fight. No puddles on the floor, no wet clothes, no crying over numb fingers and wet socks. When Squidgee got bored we didn't all have to stop and go in. It was just a good old fun snowball fight. With one twist. Our snowballs were socks.


Here's what you do:

Scrounge up 6 or so pairs of white adult (or kid) socks. Roll them into balls by putting them together like you're about to cuff the pair but then stuff the toes of both socks into the cuff of the outside sock. Keep pushing them in until the socks are all but swallowed up and look like balls. Divvy the balls and set up your boundaries and let loose! (and watch out for breakables. ) When your done, unroll them, cuff them together and put them back in Dad's drawer before he even misses them.

The other beauty of this is if you plan a Christmas in July holiday, this is a good "winter" activity for a warm summer day.